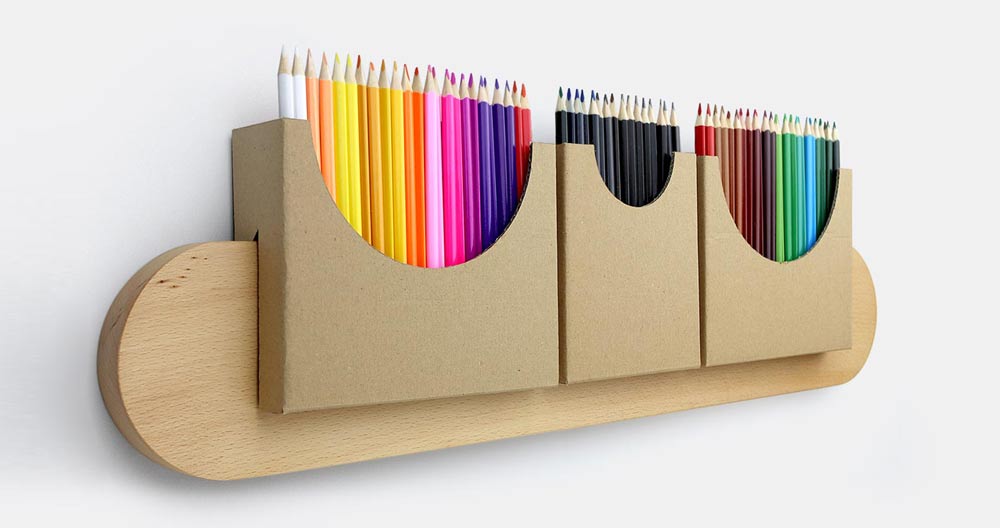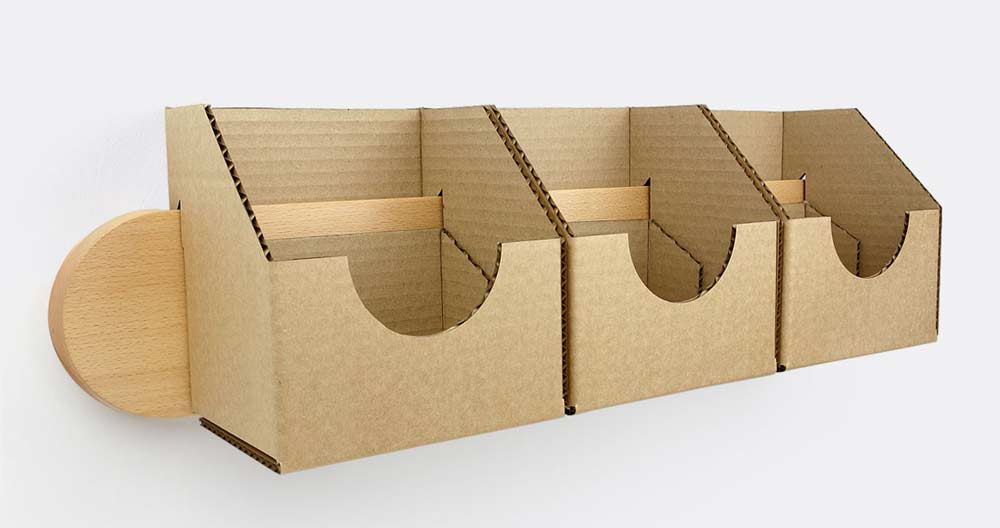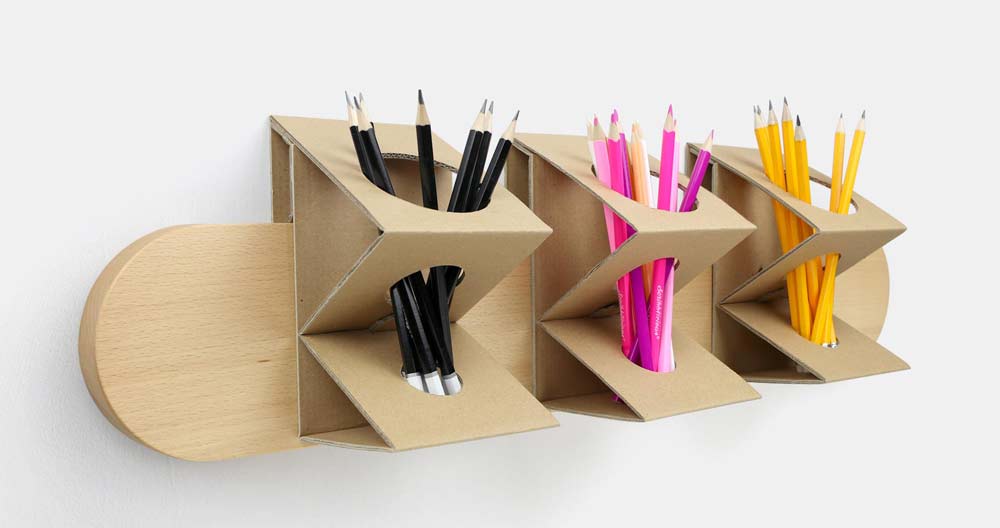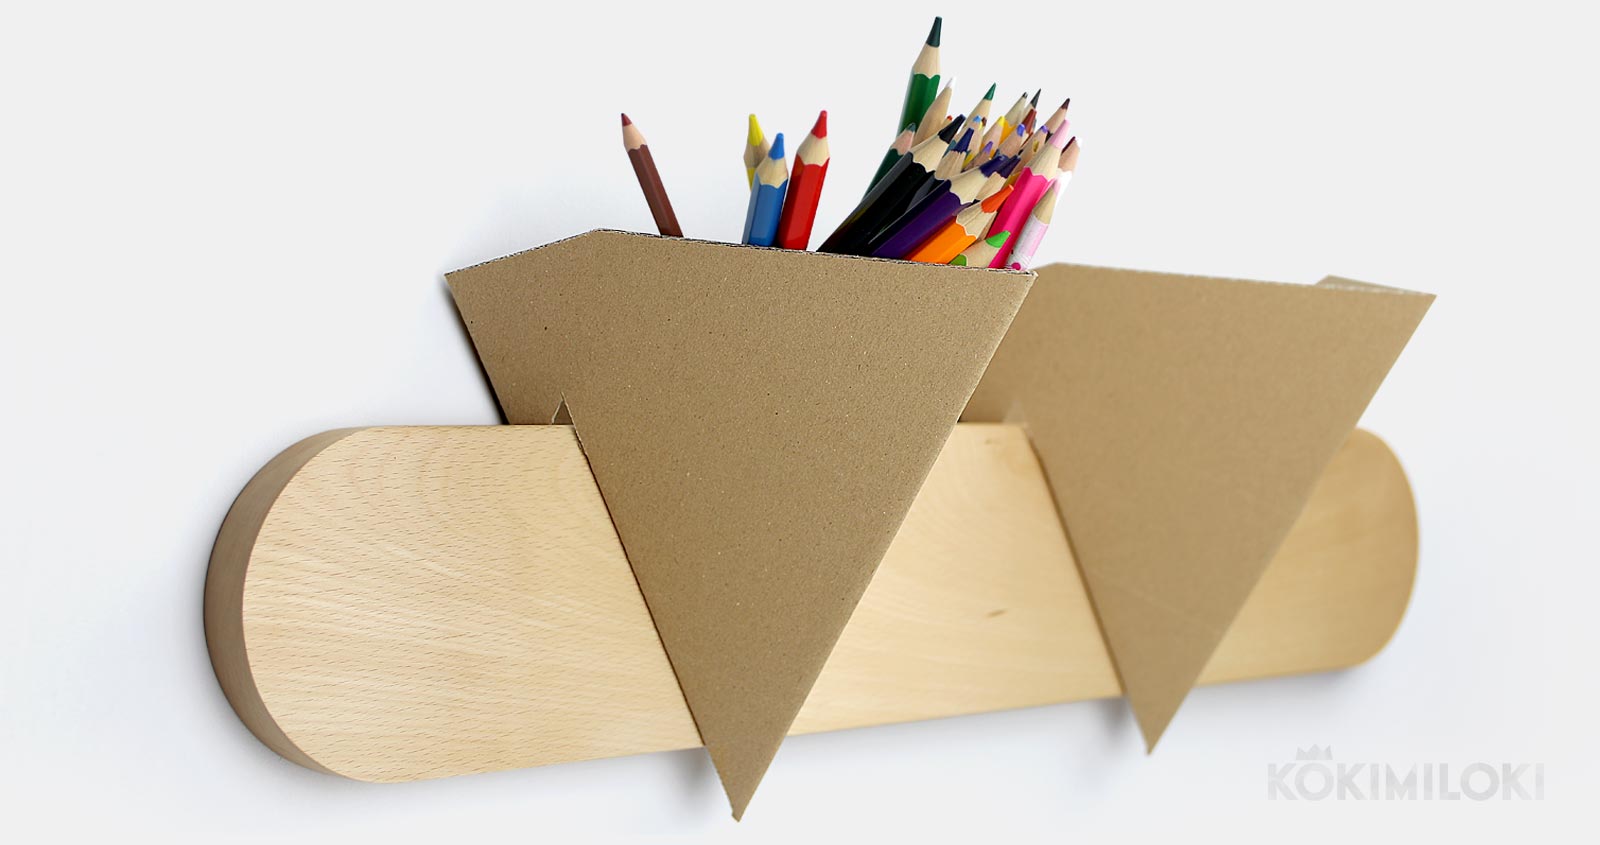
Have a look at this DIY catch-all box. Fabulously original, genuinely useful, eco-friendly, and for those clever DIYers who make their desk space all their own. Our wooden wall-mounted bar can be the foundation for you to build on so get out your thinking cap and get going.
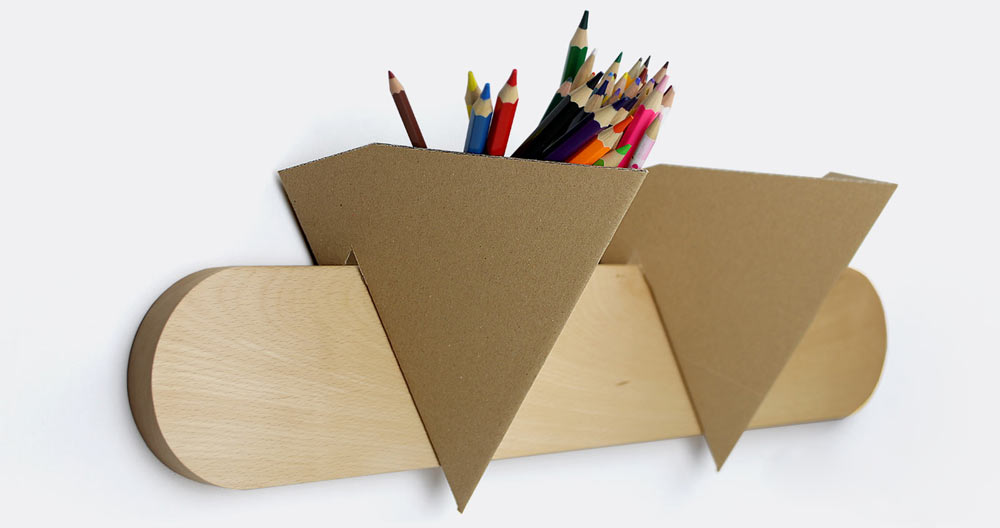
This cone-box template is very easy to put together. Most of the work is in the careful cuttings. There is also the extra fun of painting and decorating the boxes in whatever colours you like. Top quality fun. We dream of making your life outstanding. So follow all steps precisely to get those boxes ready. Then, fill them with pencils, scissors, highlighters, brushes, or whatever takes your fancy.
Alternatively. . . order one of our ready-to-buy ones.
Catch-all for crayons, markers and brushes
Materials needed here: cardboard, glue stick, craft knife and metal ruler. Click on the icons below to download the templates. Print them on the reverse side of used office paper. Cut out all the printed shapes precisely.
Mount the composition of shapes on a cardboard sheet. Then cut out the new shapes as shown in the picture below.

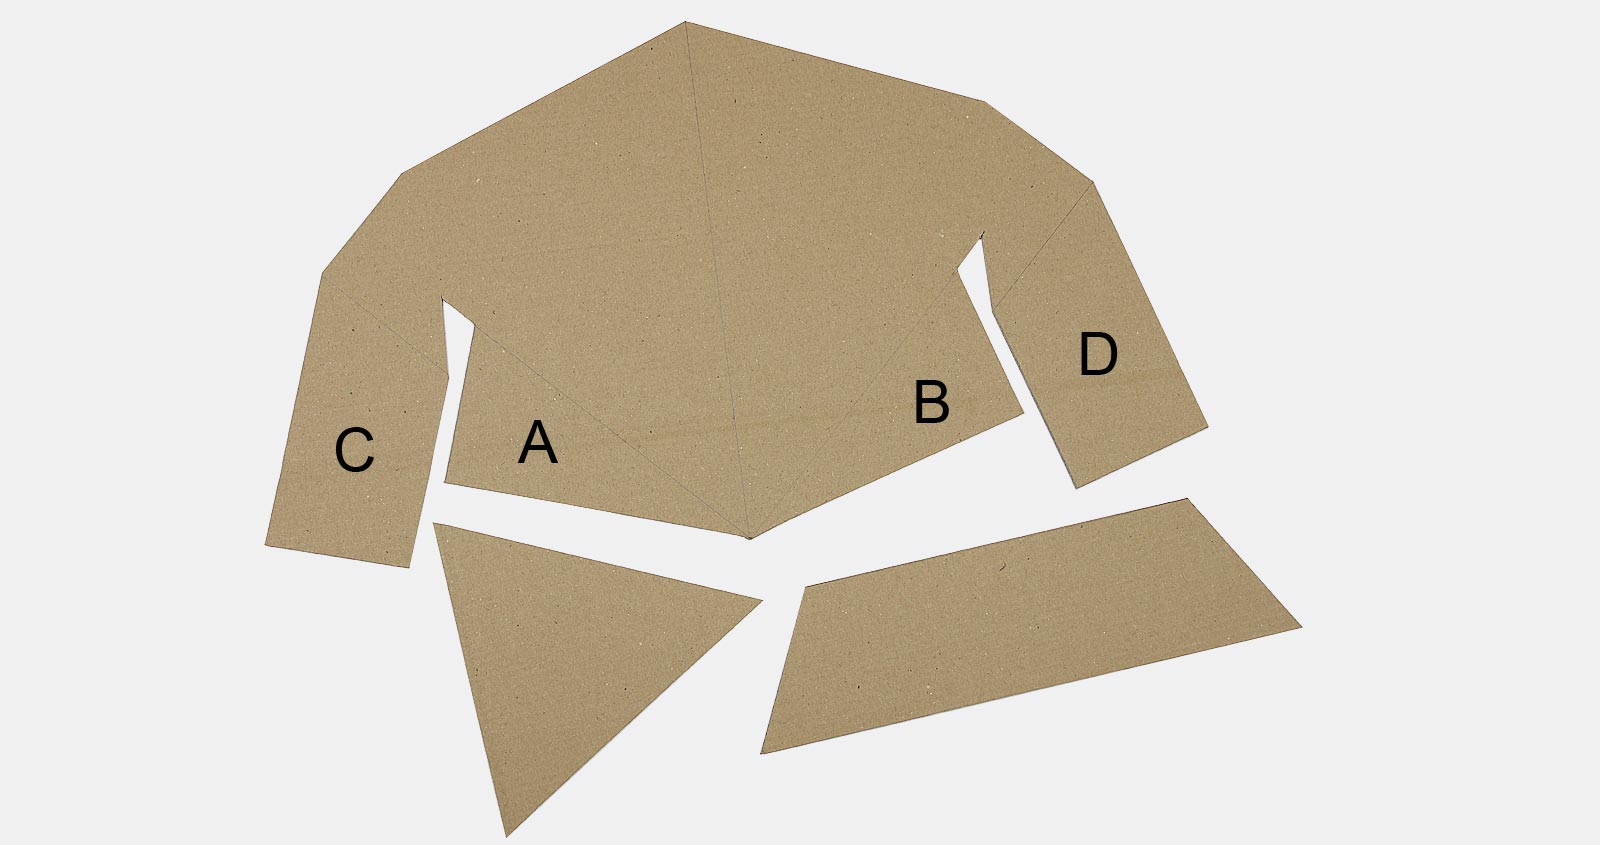
Fold along all the dashed lines. Before folding, make a crease with a scalpel or craft knife held upside down against the edge of a ruler.

Glue a separate triangle to the inner side of triangle A and triangle B. We clipped the parts together to let it dry for a while. After the first try, we got the idea to help it dry perfectly straight by using a ruler as shown in the picture below.


Glue the separate rectangle to the front side of rectangle C and rectangle D using the same technique from the previous step. Wait for a while, take all the clips out and hang the cone box on your wall bar. Enjoy… was it as bad as all that?


and… ta da!

We’re sure you’ve noticed, we’ve already developed quite a few craft box organising ideas to store your bits and pieces and show them off. Just in case you haven’t, though, we’ve also produced a wall bar for you to hang those boxes on. You’ll find it right here. Have fun out there.


