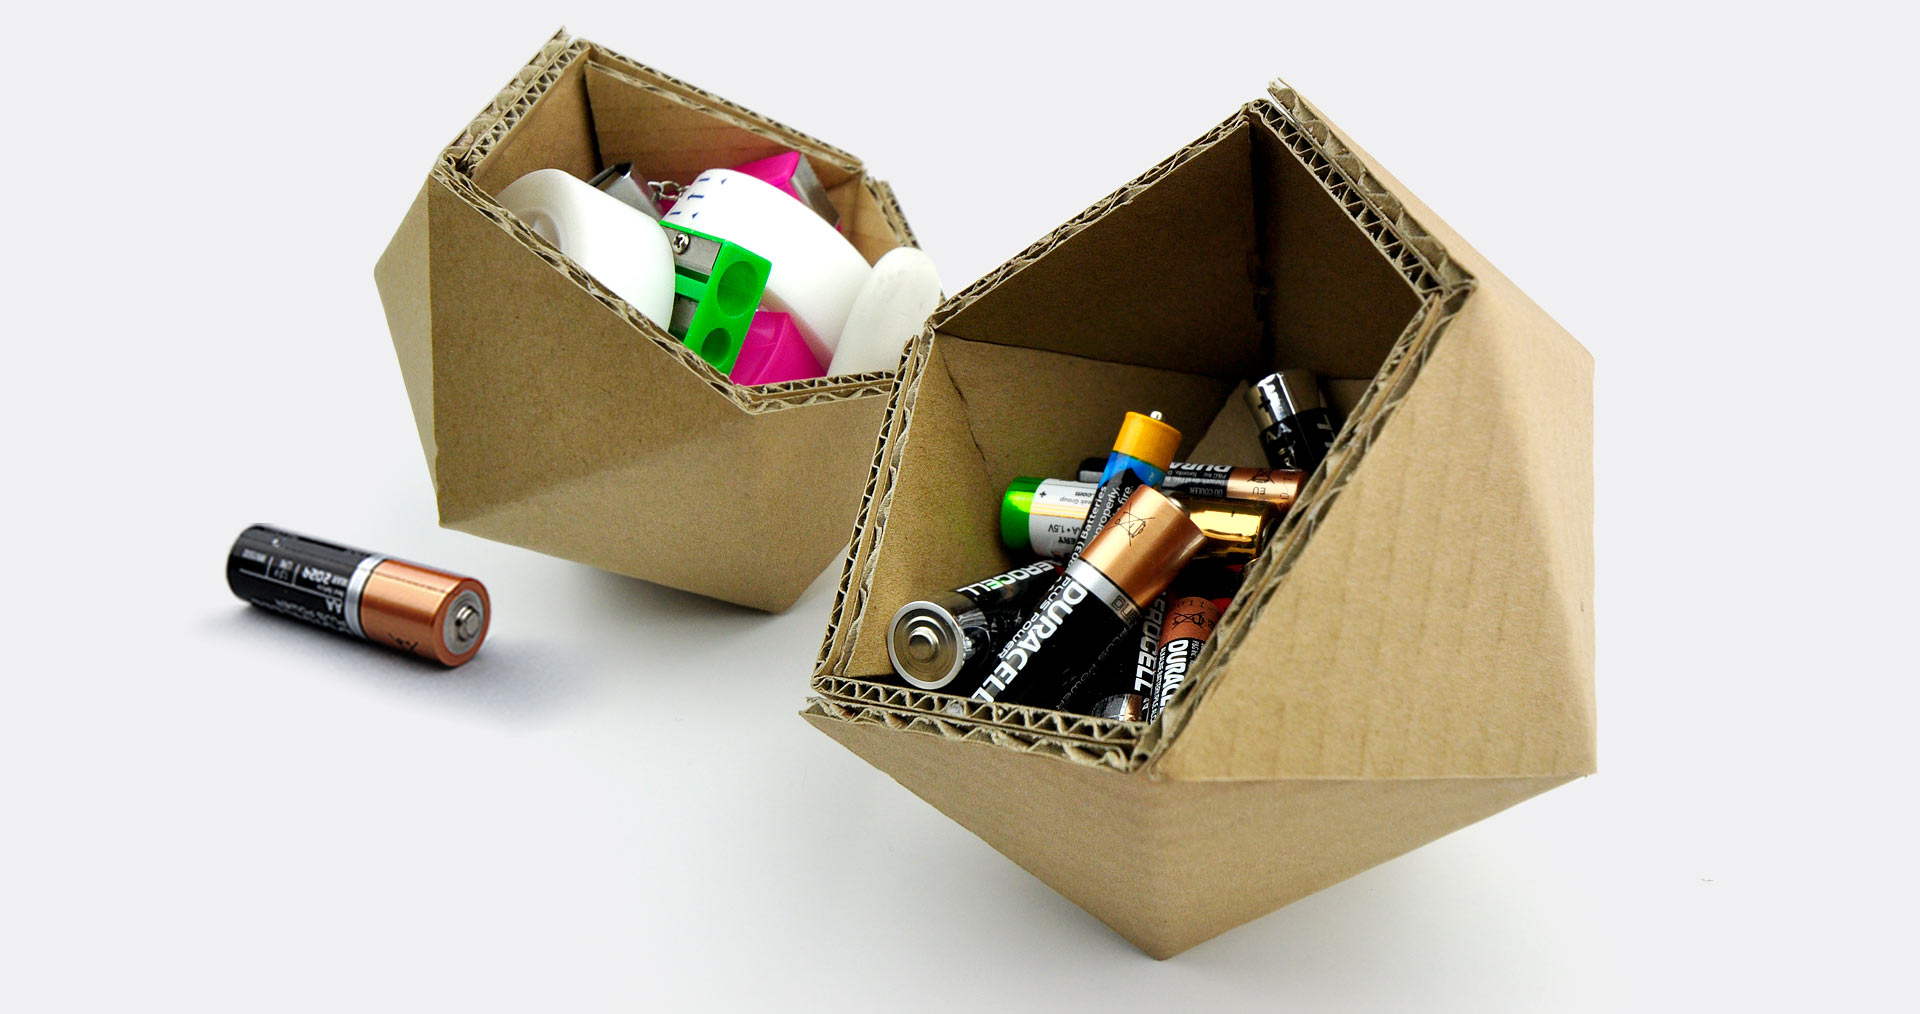
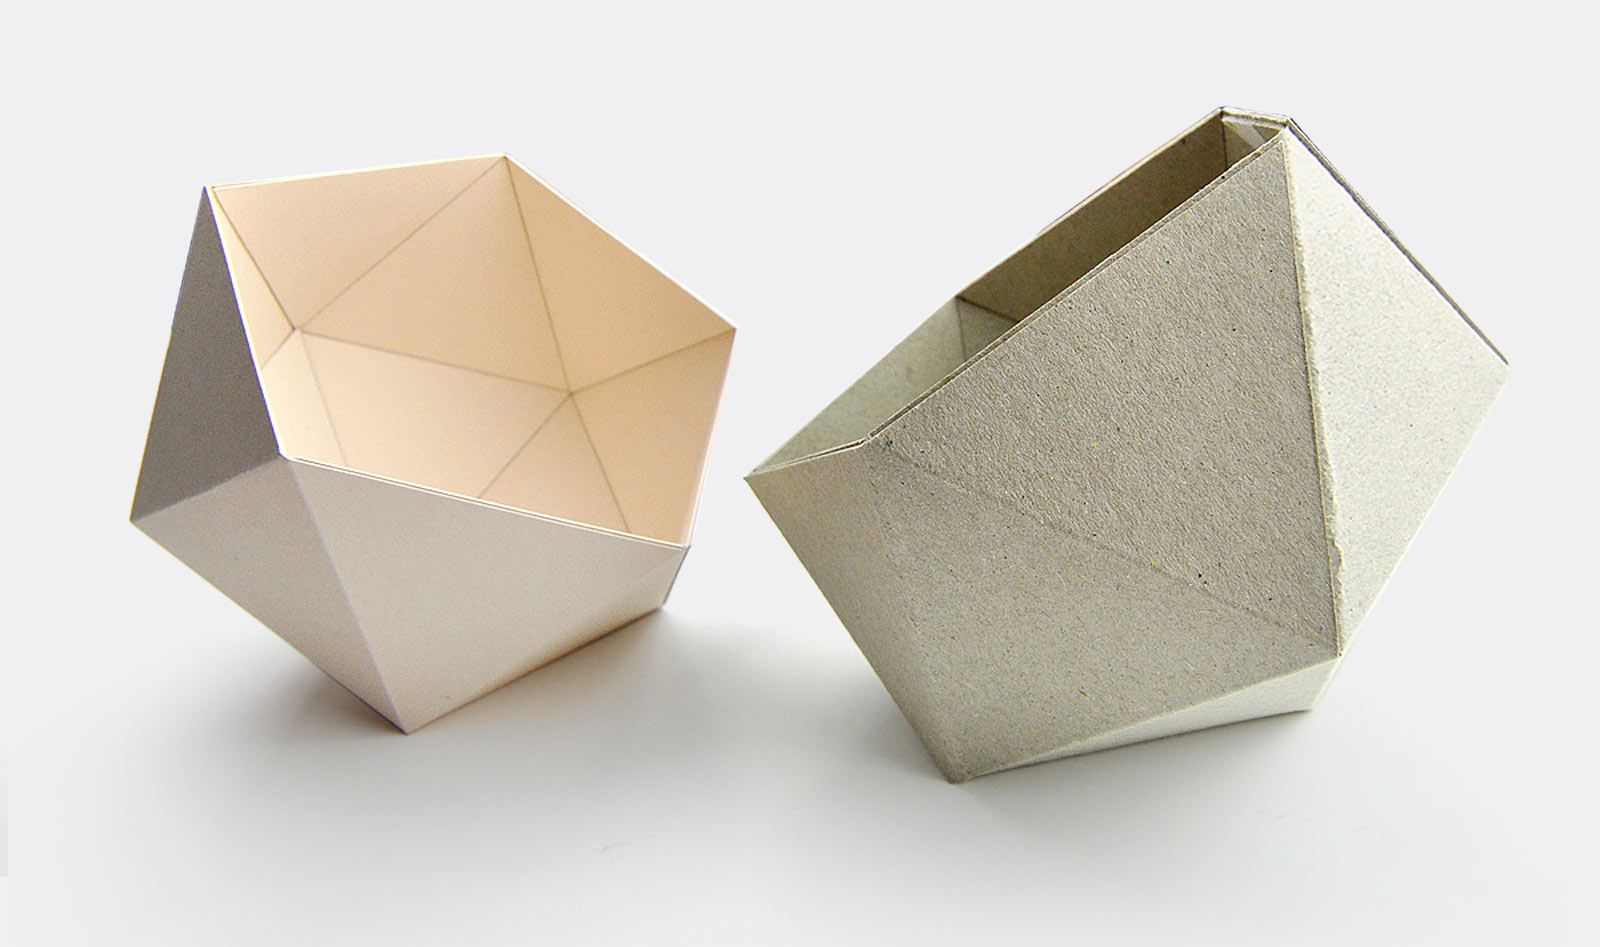
Spare buttons, hair ties, drawing pins. Yes, the real ones, not the Google Maps kind. Earring backs. A screw of unknown origin. Small things have big ambitions – to disappear exactly when you need them. That’s why we made this DIY cardboard box for small items.
How to Make a Small Cardboard Box?
Because the Hair Ties Escaped Again.
Remember anything from geometry? Let’s find out:
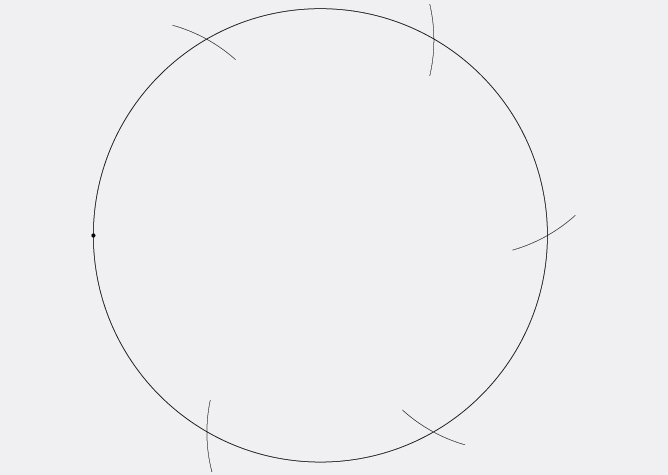
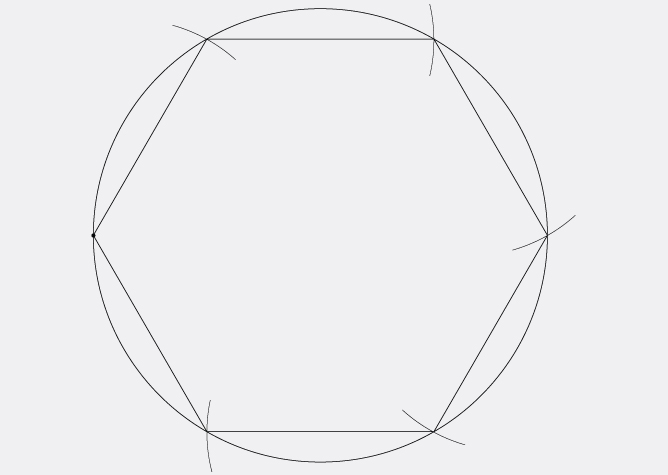
The side of a regular hexagon inscribed in a circle is equal to the radius of that circle.
Sound familiar? Good. Because now it’s finally useful.
Draw a circle. Keeping the compass set to the same width, mark six points around its circumference. Connect them with straight lines – and you’ve got a regular hexagon.

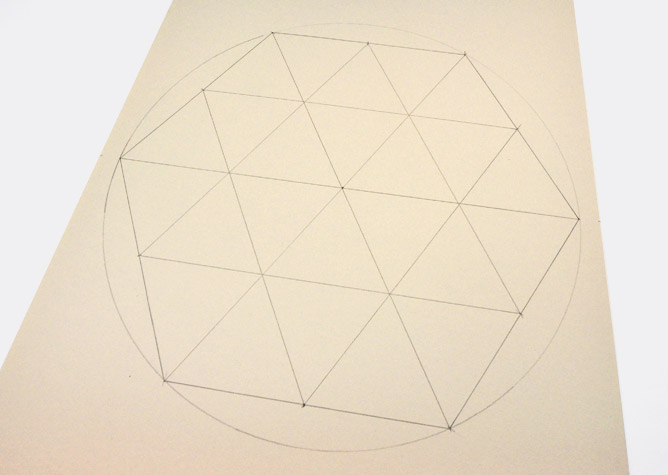
Cut out the hexagon. Use a craft knife to cut along all the red lines. Then, using the rounded, non-cutting edge of the blade, score all the black lines. This will give you nice, crisp folds.

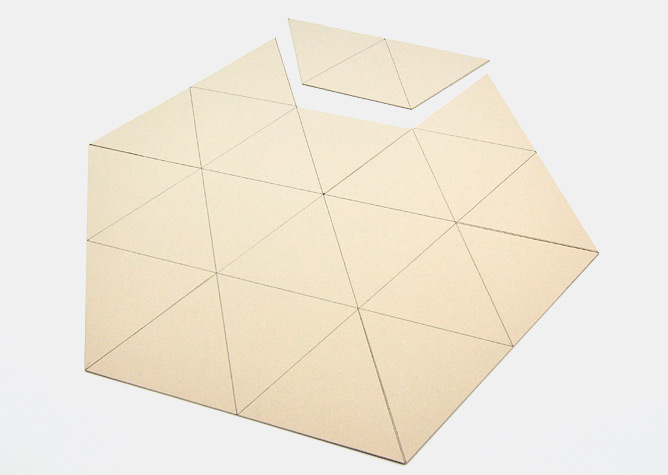
Now fold up the sides, glue the marked sections together and give it a moment to make the leap from a flat piece of cardboard into the third dimension. The DIY cardboard box for small items is starting to take shape.
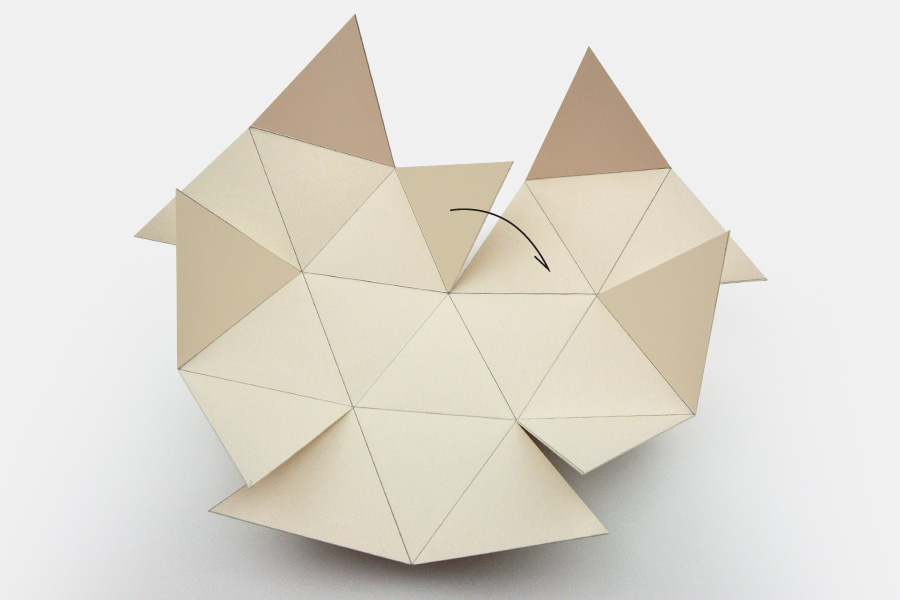
Keep gluing. Let each pair of glued sides dry before moving on to the next one.
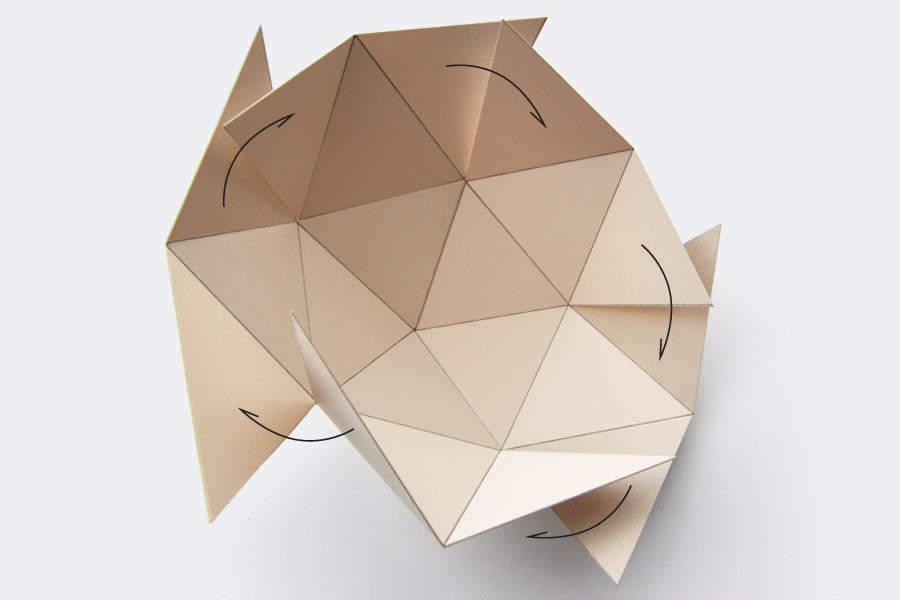
And done. Your DIY cardboard box for small items is ready to take in buttons, hair ties, paper clips and all the other tiny things that have been living without a permanent address.
If your small things have grown to a slightly larger calibre, have a look at our cardboard storage box for USB cables.
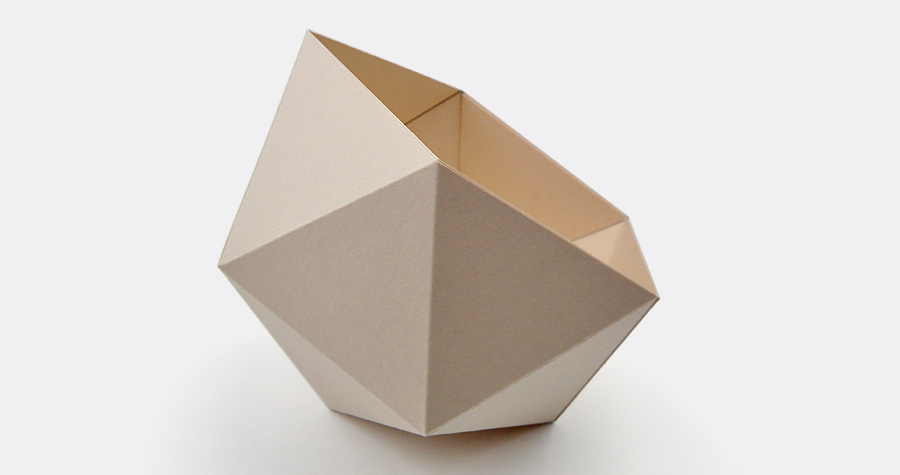
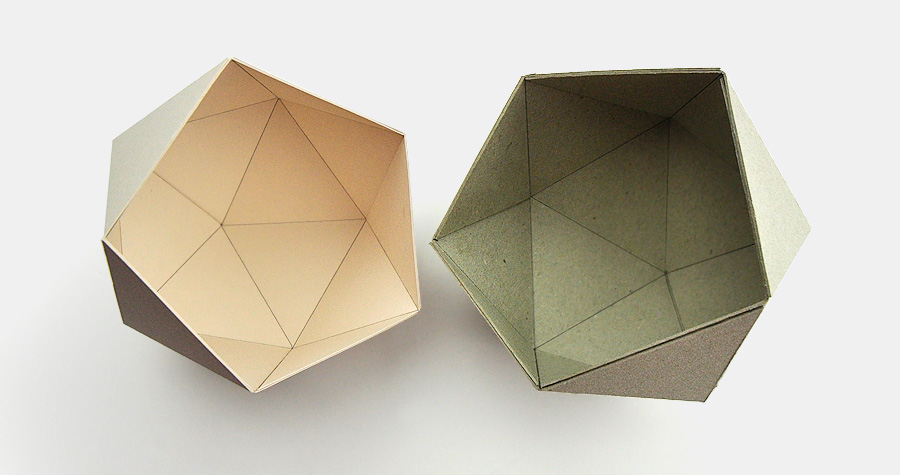
A few cuts, a few folds, a little glue, and your DIY cardboard box for small items is ready for its new tenants. And there’s no shortage of applicants:
- microSD cards,
- spare earring backs,
- SIM ejector tools,
- dice,
- tiny LEGO pieces,
- small cable adapters,
- coins brought back from holidays,
- or screws we’re not quite ready to throw away.
Cardboard still has a few other ideas. Unfortunately, it intends to pursue all of them. See our other DIY tutorials.