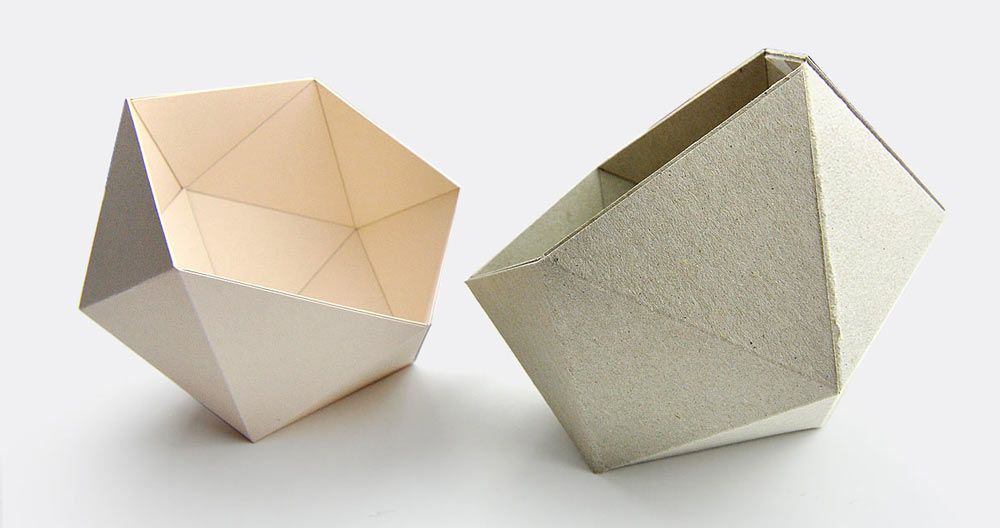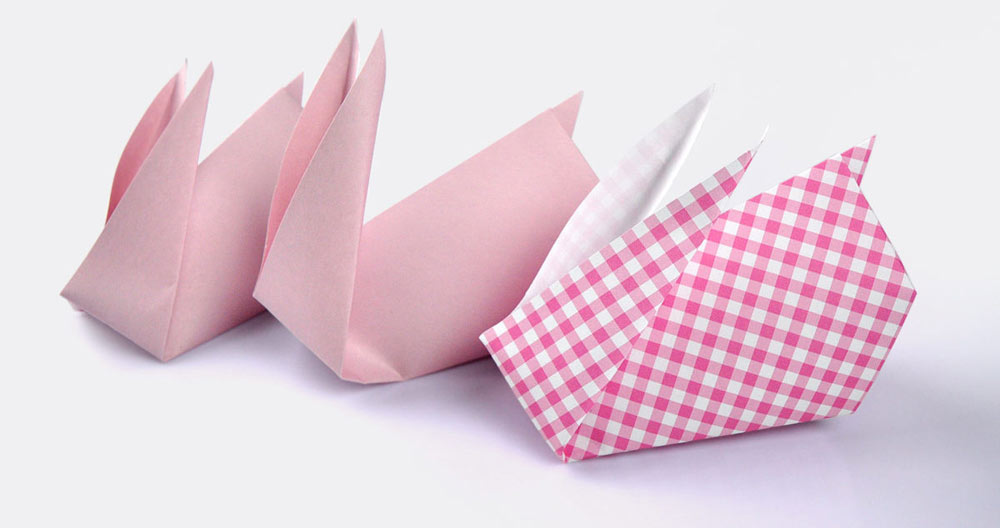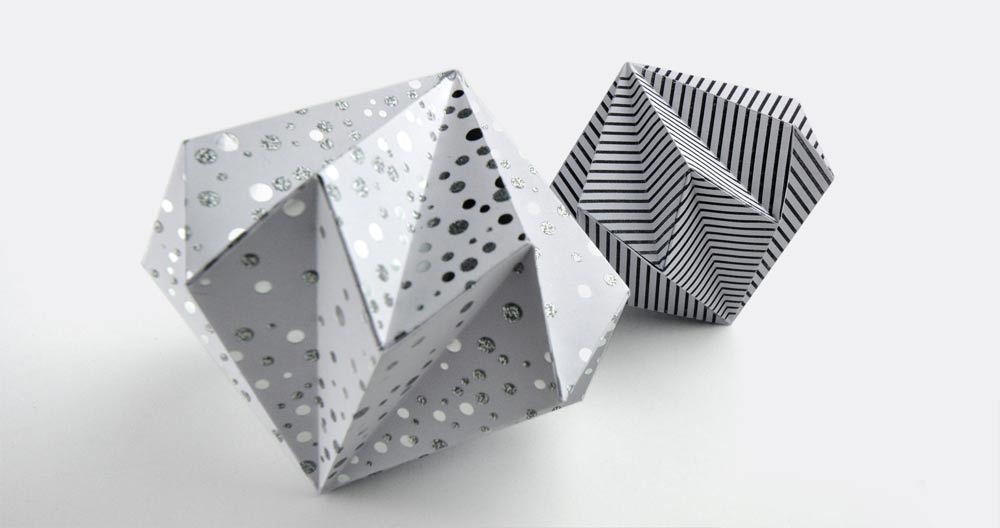
A cardboard box pulled off something rather cheeky – it became a toy. Officially.
It made it into the National Toy Hall of Fame at the American Museum of Play.
No batteries. No instruction manual. Not even a manufacturer around to take the credit.
Kids knew it all along – a box can be a car, a ship, a fort, a hideout, or some mysterious construction whose purpose is probably best left unquestioned.
An adult sees cardboard for recycling.
A child sees possibilities.
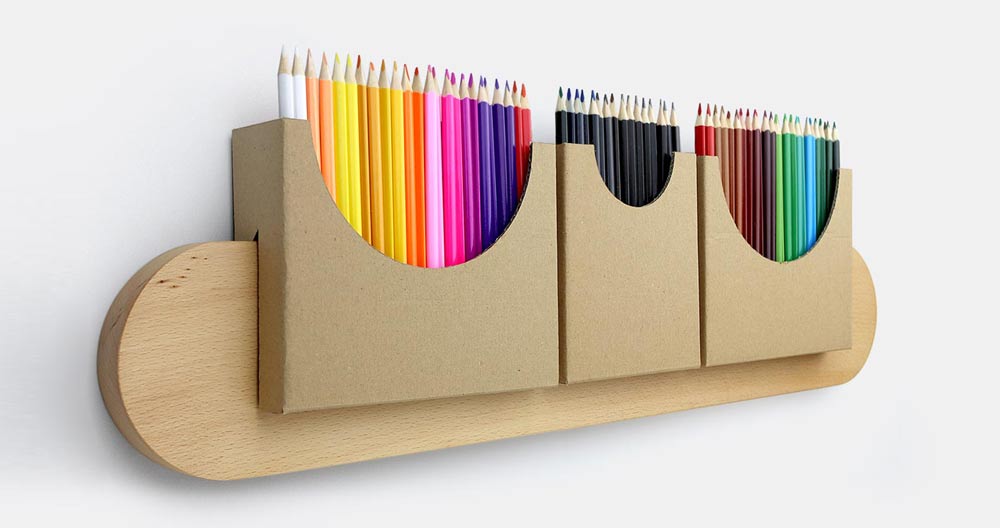
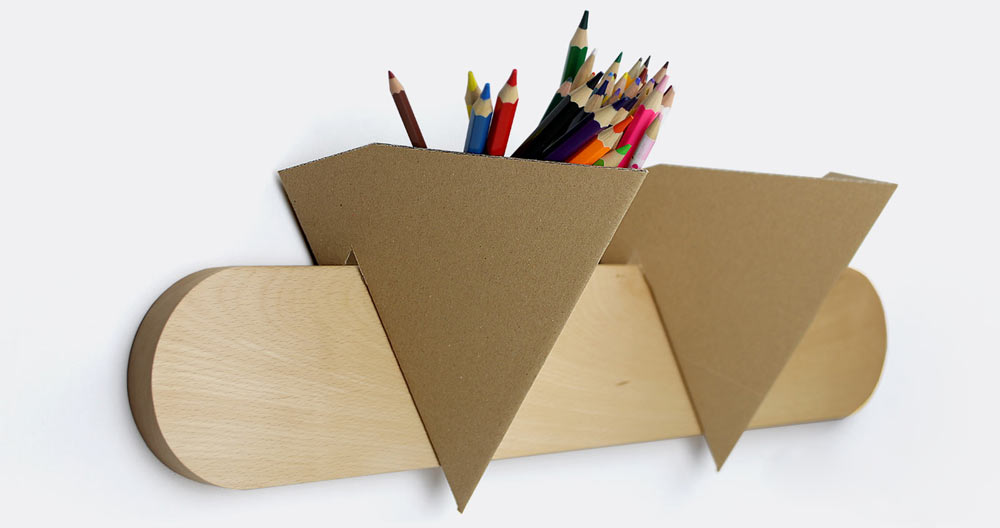
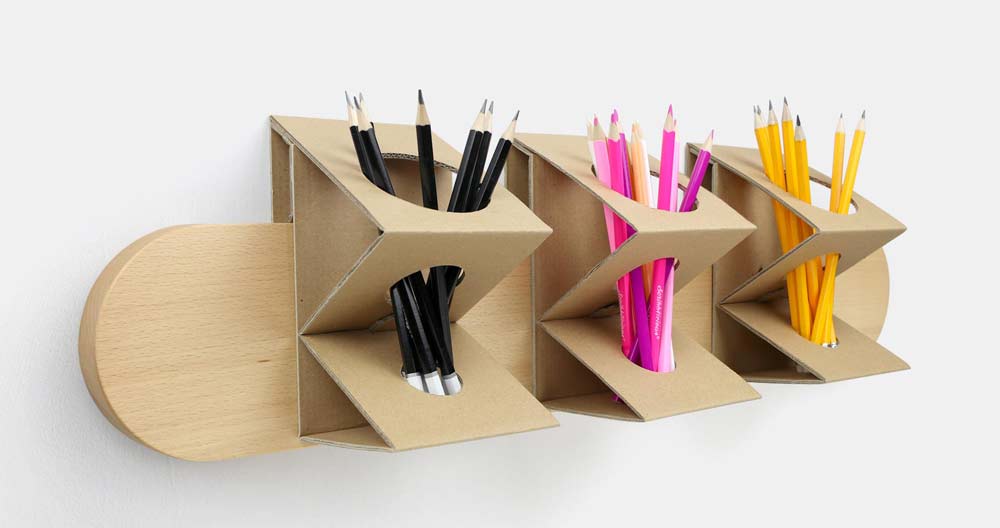
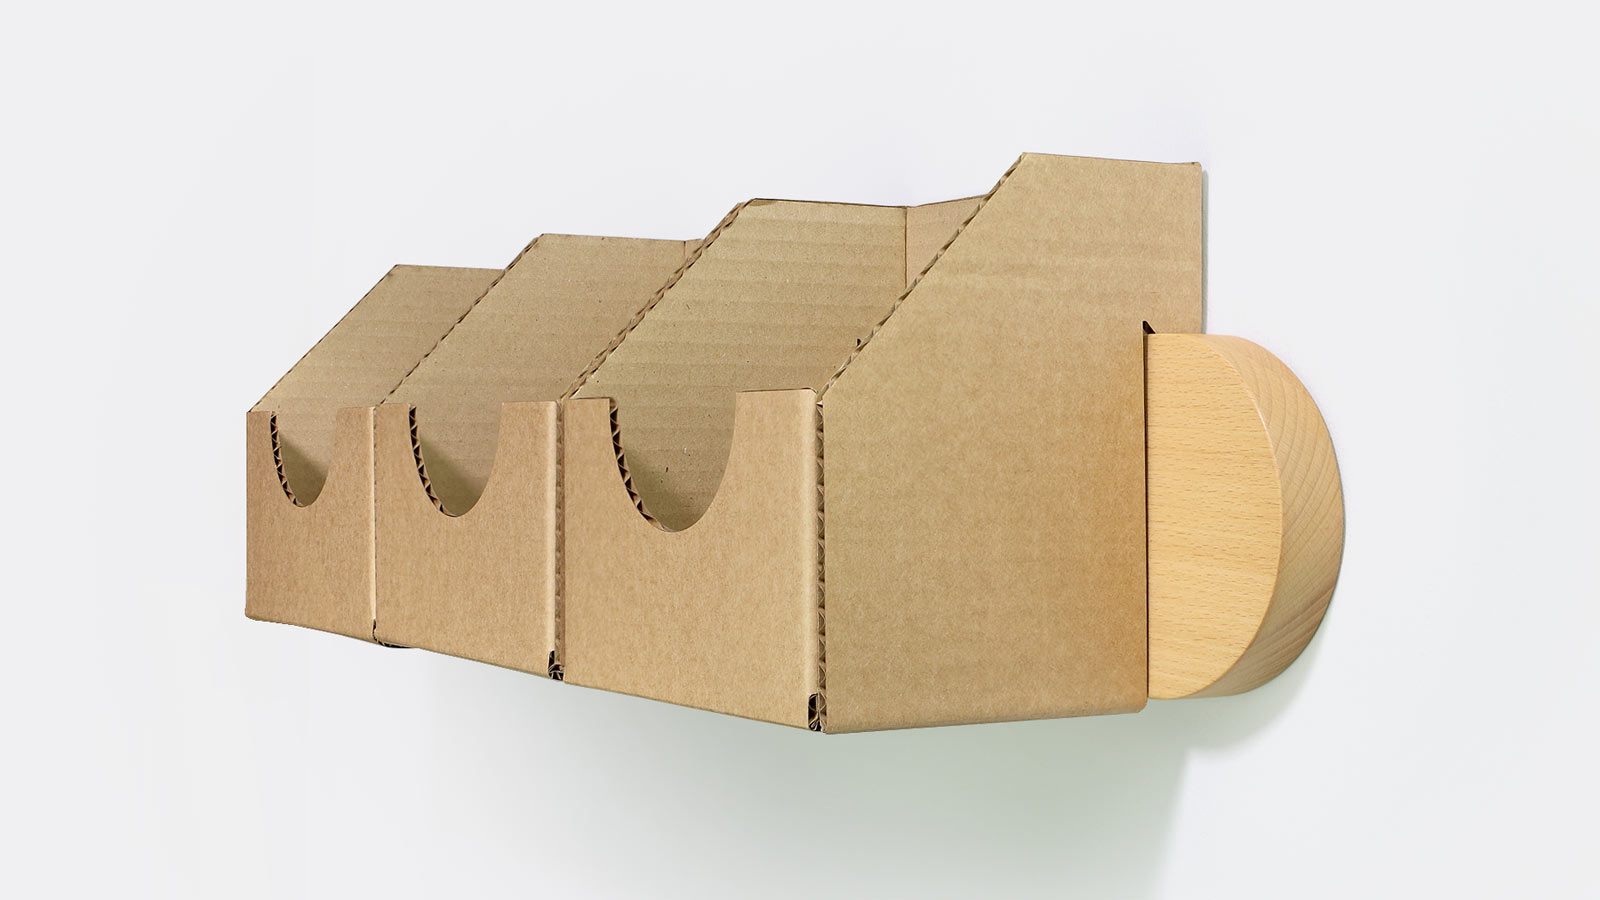
We saw an organiser. After all, as Opponents of Single-Use, we have a slightly different relationship with delivery boxes.
Missed out? Make your own.
Our wooden organizers Catch Me disappeared faster than we could say ‘we’re making more’, so Catch Me DIY was born.
Same idea, only more make it yourself than buy it now.
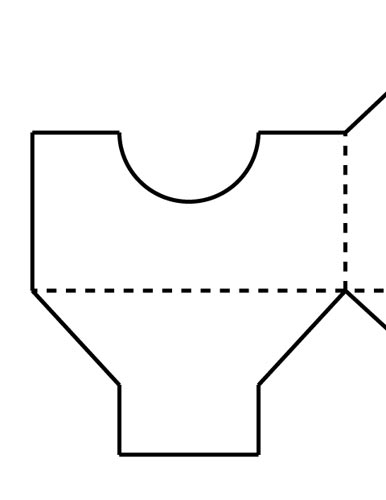
Download the templates from the icons below, print them on the blank
side of used paper, then: cut, fold, glue. Paint it,
cover it or leave it as it is. Cardboard won’t be offended by the lack of styling.
1
2

3
4
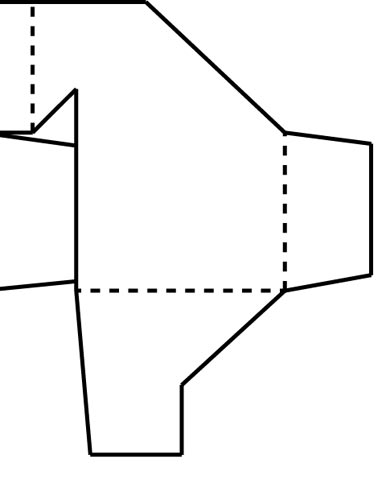
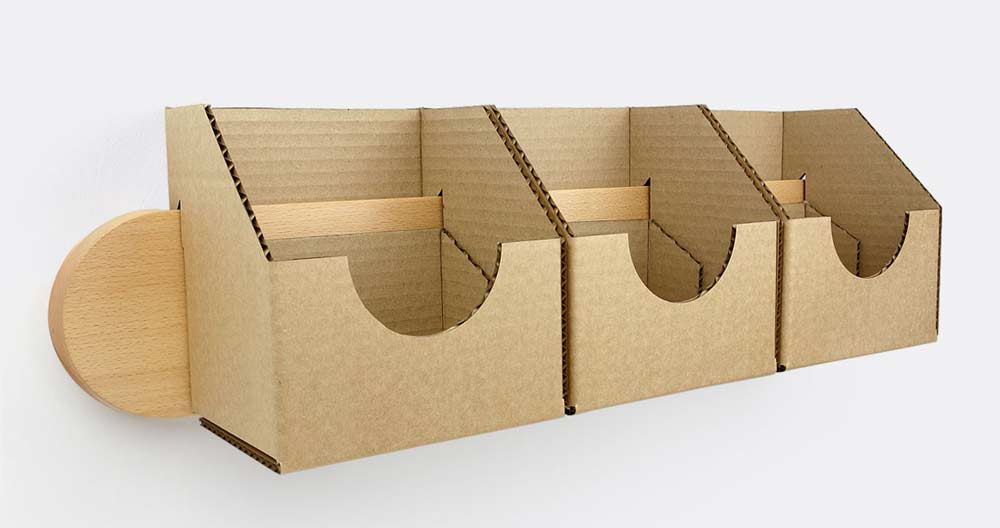
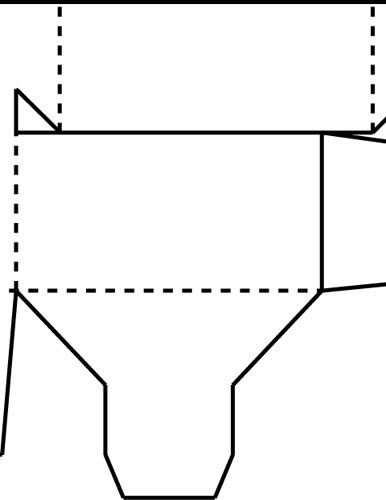
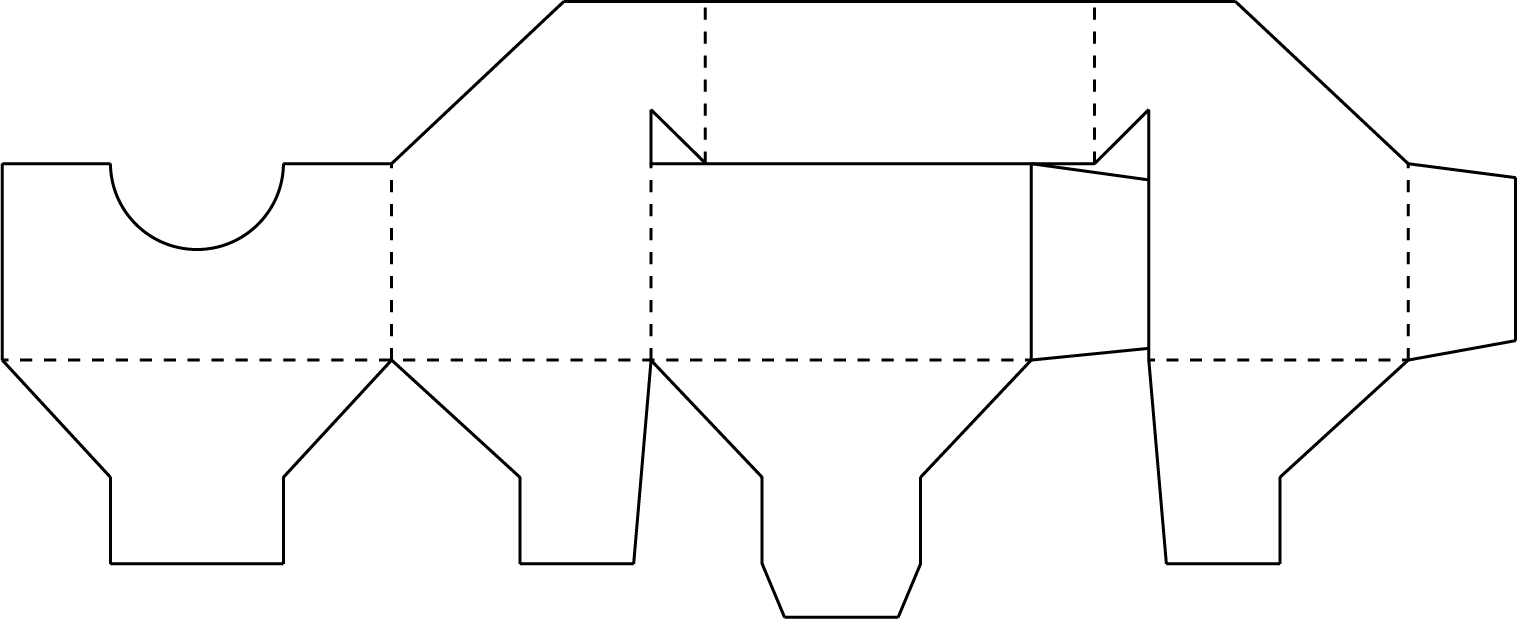
Prepare a sheet of cardboard at least 65 cm wide. A flattened shoebox will do. Arrange the cut-out templates on it as shown in the diagram and trace around them. If you’re using recycled cardboard, try to line up the dashed lines with the existing folds.
Cut along the black lines. Use a metal ruler for the straight sections. Score the dashed lines first with the blunt tip of your scissors, then fold the cardboard.
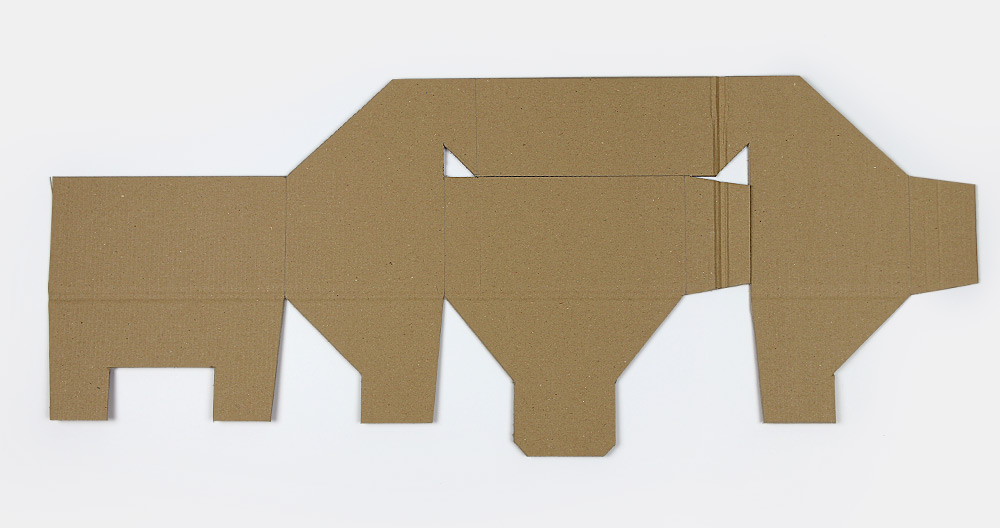
Look how we use the natural folds of our recycled cardboard box.

Glue the outer brown flap to the yellow shape.
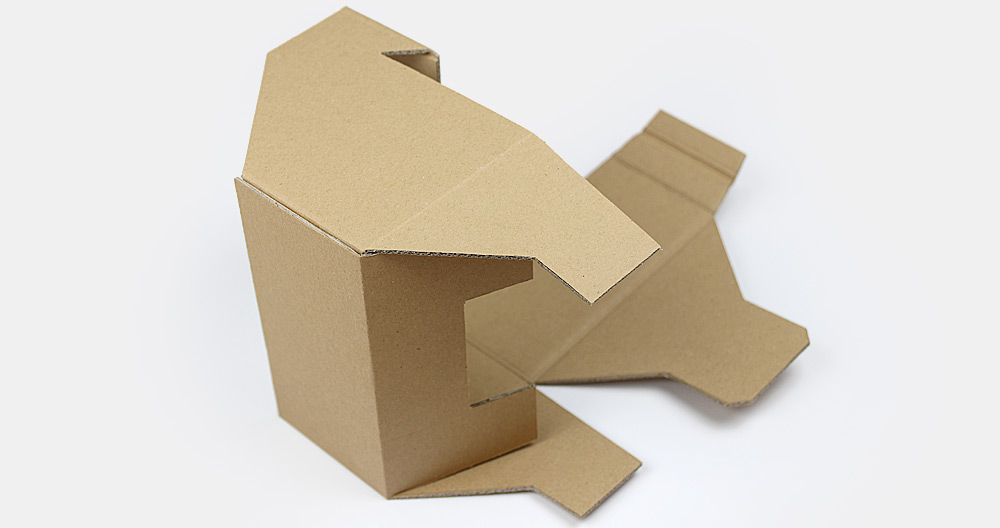
Glue the inner brown flap to the blue shape.
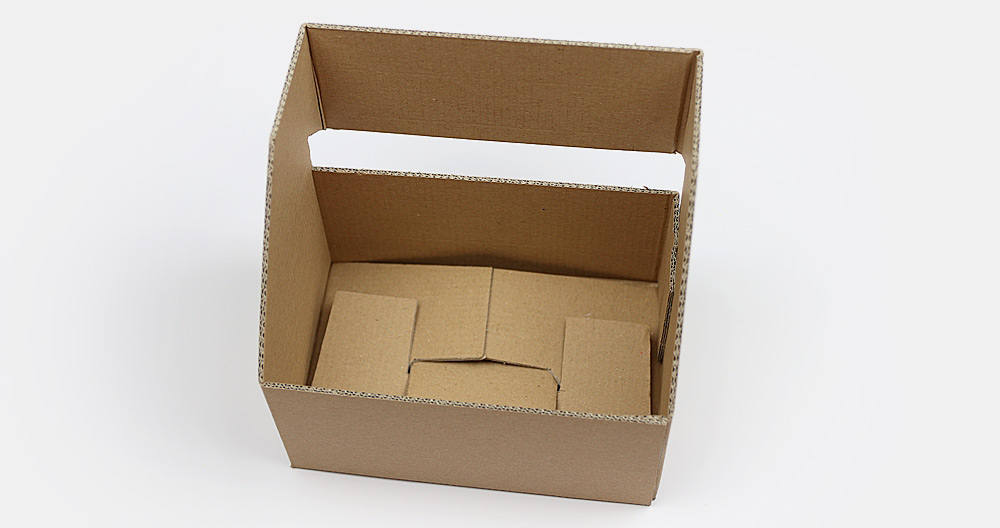
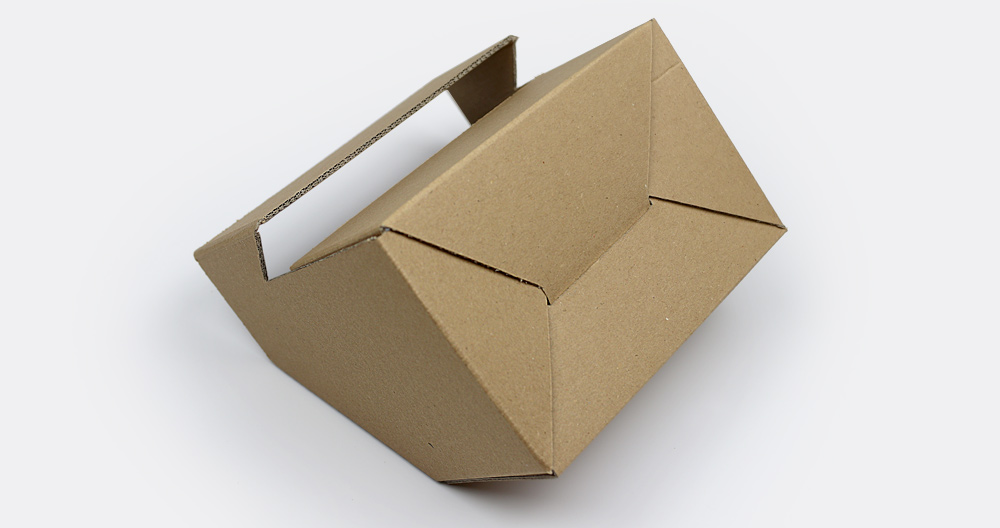
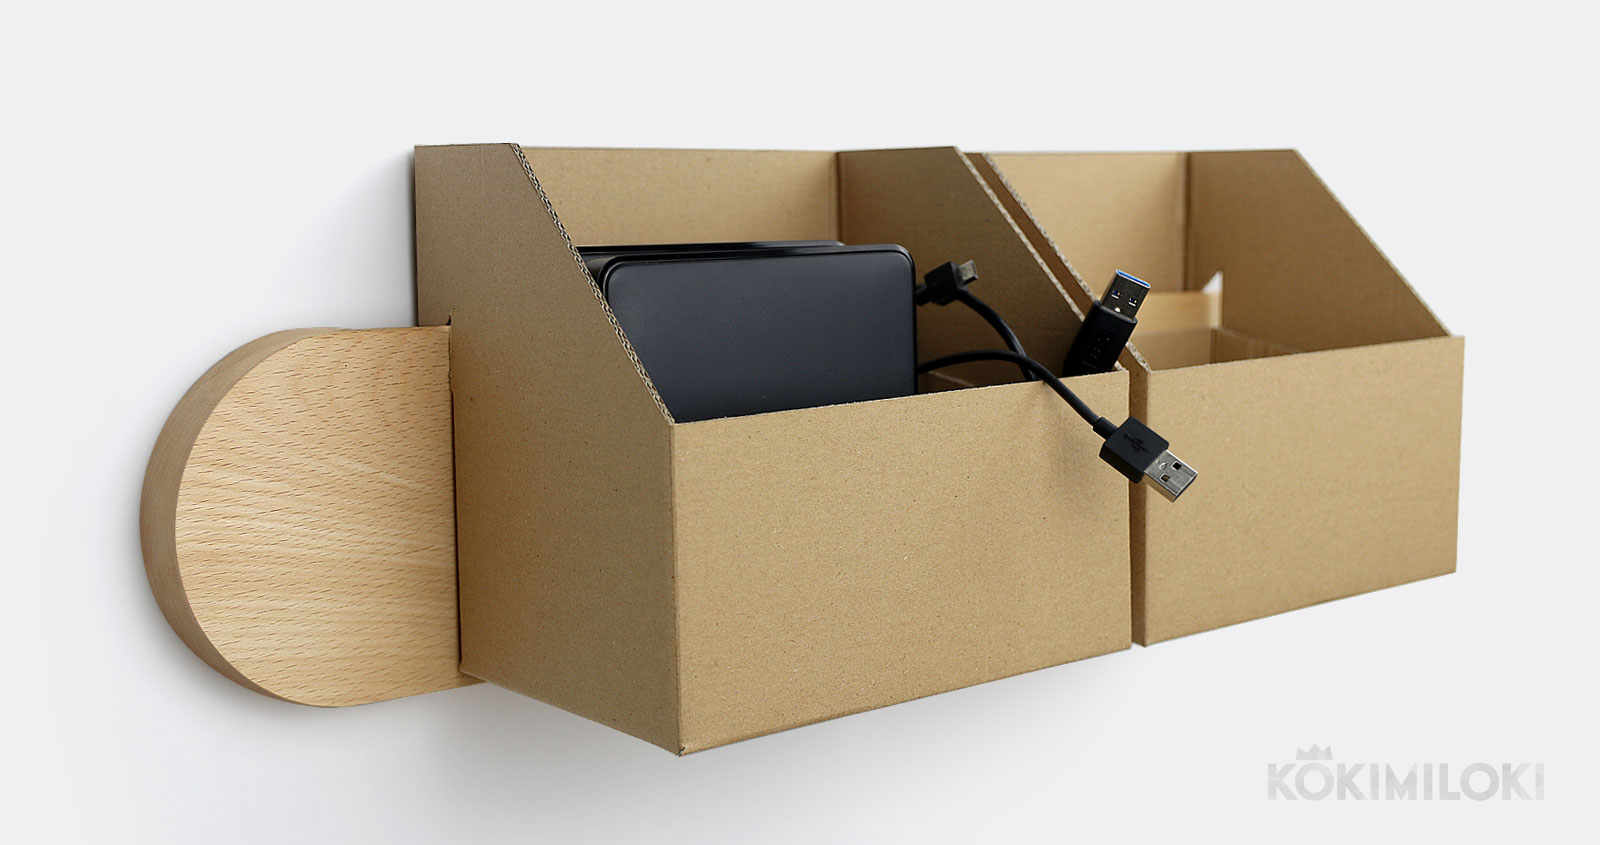
The box is almost ready for its new role. It just needs some support. Wooden and available here.
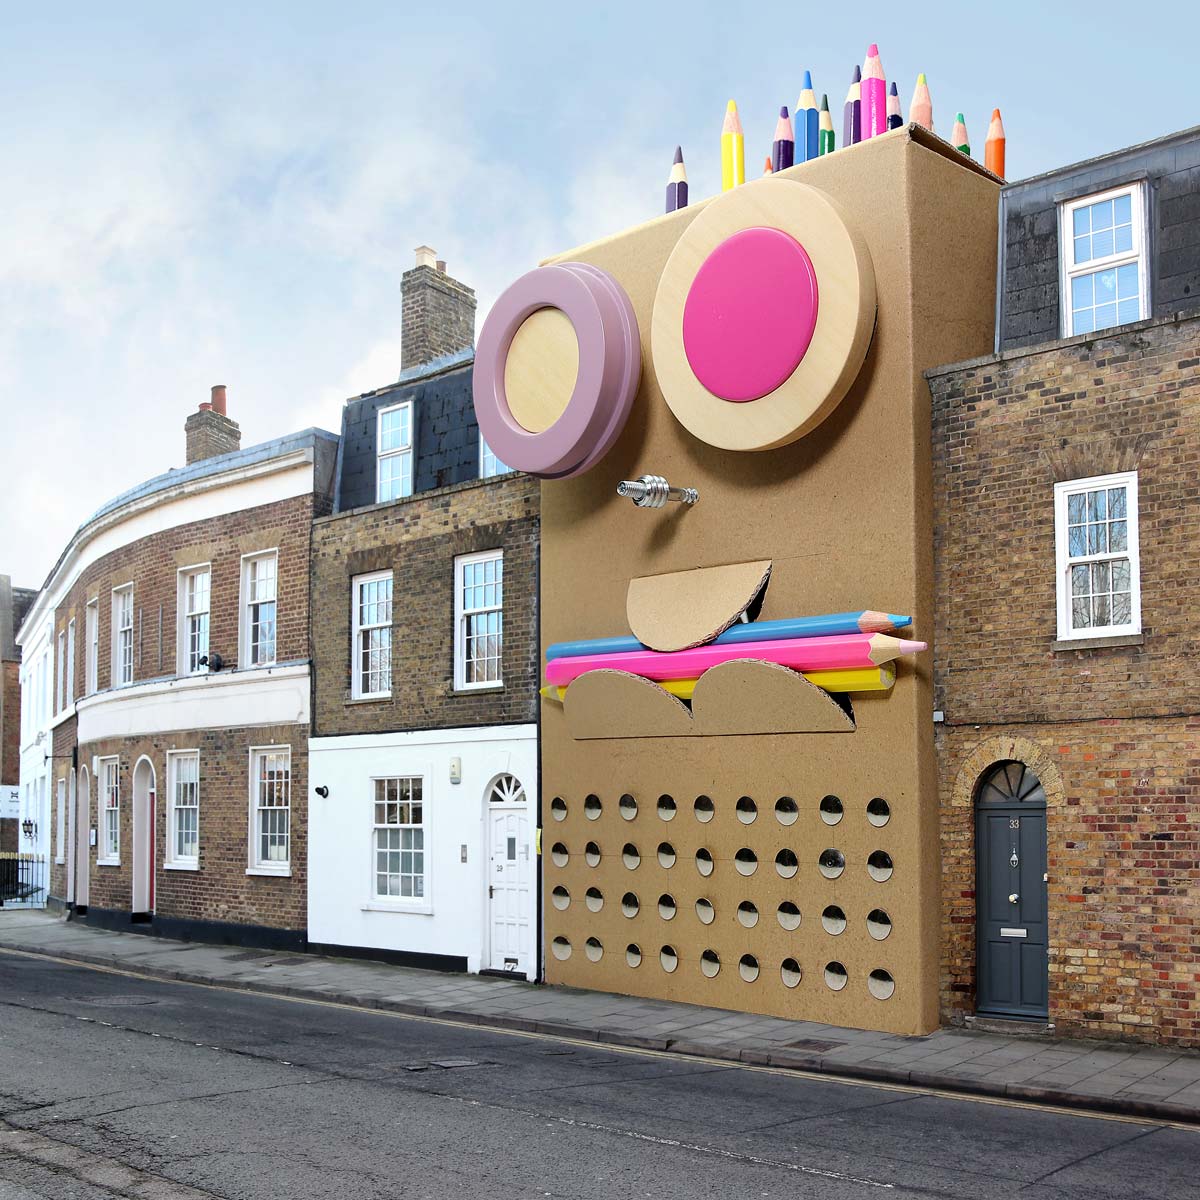
And the gentleman below?
He was created in Windsor, because one street was so perfectly tidy that something had to be done about it.
So in came the cardboard.
A little pointless, but exactly where it needed to be. It did nothing for urban planning. Image-wise, it did what it could.