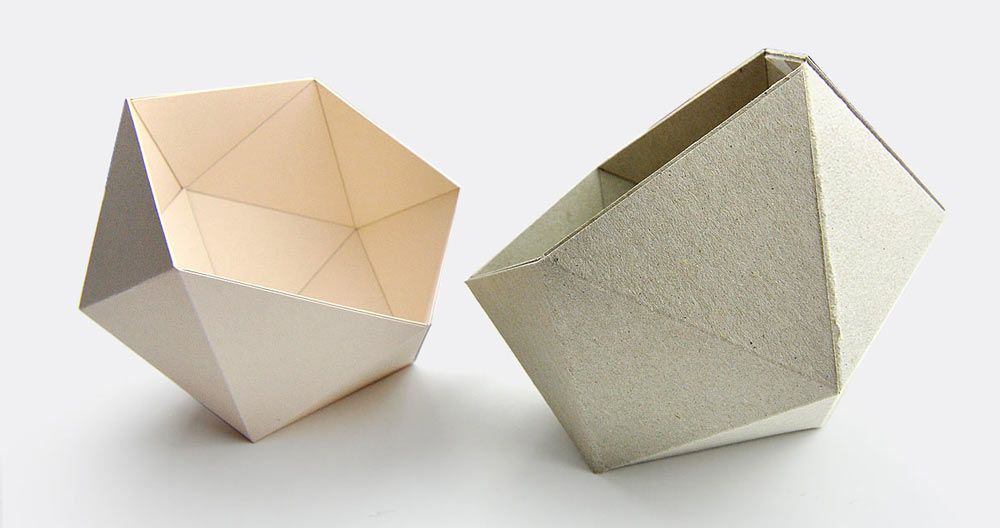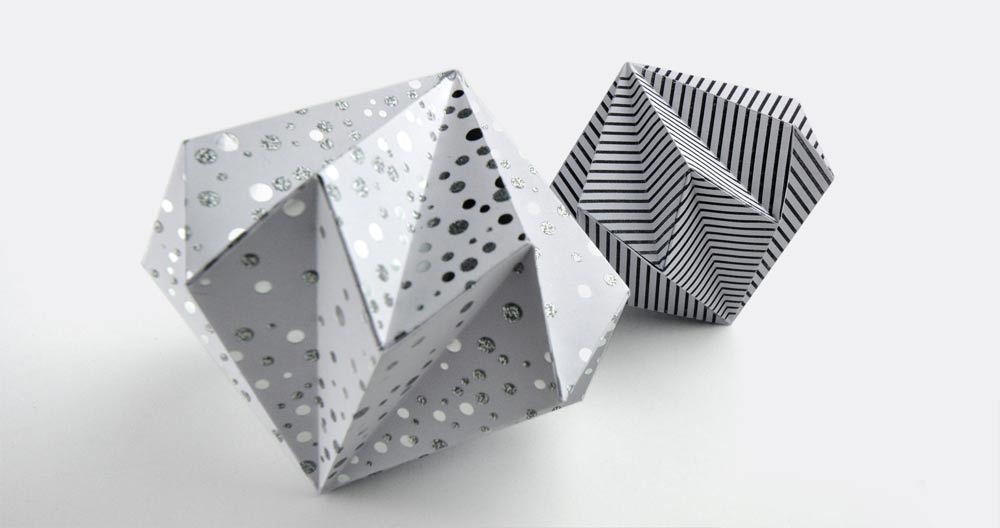
This time make it personal! Even without the Christmas aspect, a paper star box is a near-perfect idea for a delicious surprise. Create this gorgeous box bursting with sweet surprises just to say ‘thanks’ to your best friend. This is where the pleasure is as much in the opening as it is in the eating. You can really do it yourself.
Paper Star Box
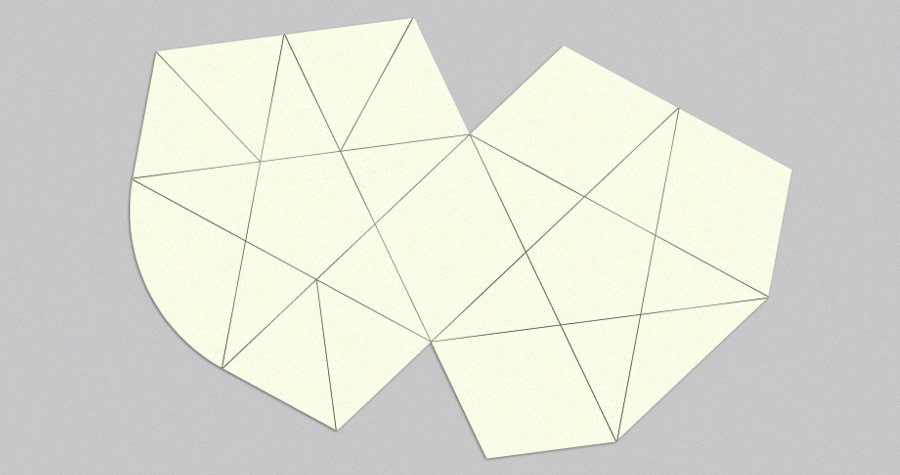
Click on the icon abow to download and print the template. Align it and stick it on the card. Puncture all points of the shape with a needle where solid, dashed and dotted lines intersect (using a compass would be more comfortable). You should puncture a total of 26 points.

Cut out the shape along the red line.
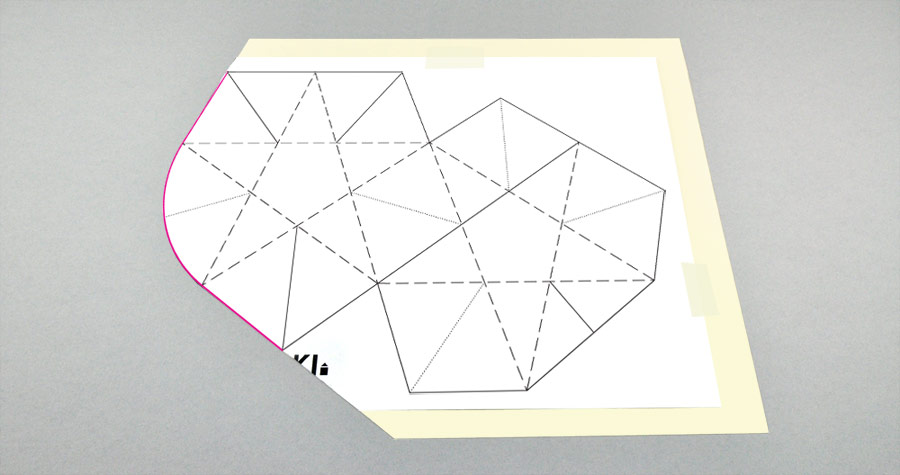
Lift the template and properly connect points punctured, using a ruler and pencil, like in the picture below. Score all the dashed lines with a compass. Turn the card up-side down and score the 5 dotted lines (you should localize them with the punctures) as these edges will be folded in the opposite direction.
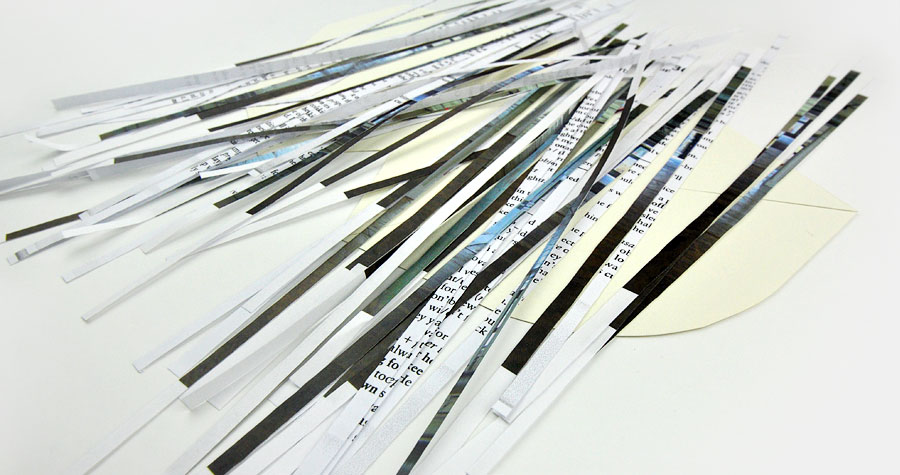
Put the card template side down. Place thin strips of used office paper on it (shredded paper is excellent for this). Fix the ends of the strips with something heavy (if you are using a book, remember to protect it with some newspaper). Spray with a gold paint. Let it dry. Remove the strips to see the effect.

Turn the card the patterned side down. Fold all the scored dashed lines. Please notice the scored line always becomes the inside of your fold. To achieve a much neater and crisper fold we fold usually with the help of a ruler. Fold all the dotted lines in the opposite direction.
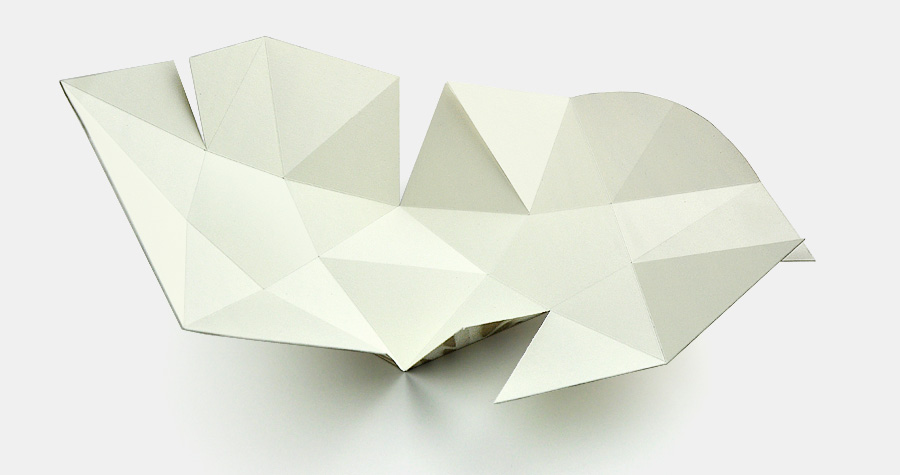
Start gluing the box. We put the same letters on the flaps which have to be glued together. Glue each individually and let it dry until the shape is formed and you have a geometric star. Please notice three flaps marked with ‘no glue’ on your downloaded template.


